Choose the Right Prototyping Process
Prototyping Specifications
| Process | Typical Tolerance | Max Size | Lead Time |
| CNC Machining | ±0.05mm (Metals) | 3000mm | 3-5 Days |
| SLA 3D Printing | ±0.1mm | 600mm | 2-3 Days |
| SLS 3D Printing | ±0.2mm | 400mm | 3-4 Days |
| Vacuum Casting | ±0.2mm | 1000mm | 7-10 Days |
Materials Available for Prototyping
| Plastics | Metals |
| ABS | Aluminum 6061/7075 |
| PC | Stainless Steel 303/304 |
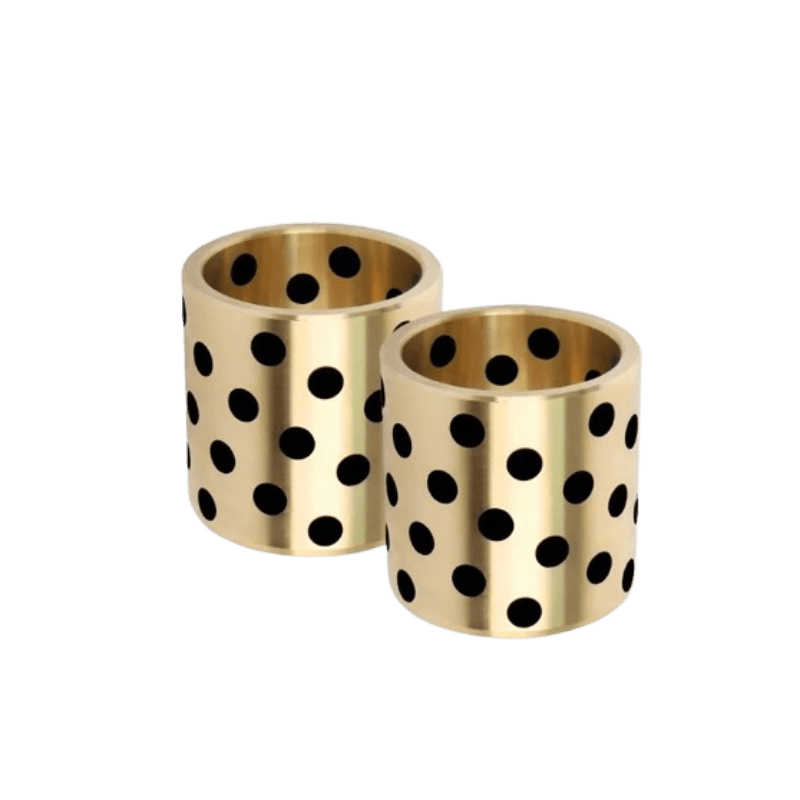
| PMMA (Acrylic) | Brass |
| Nylon (PA6/PA66) | Copper |
| PEEK | Titanium alloy |
| POM | Carbon steel |
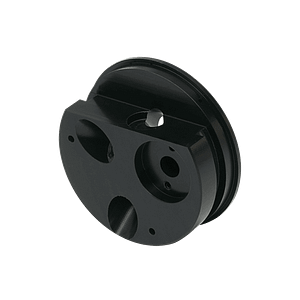
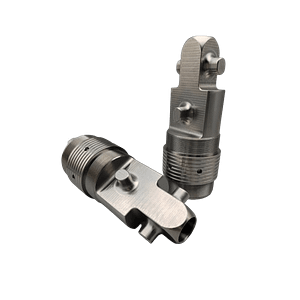
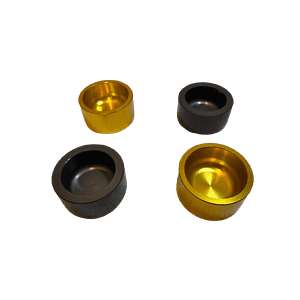
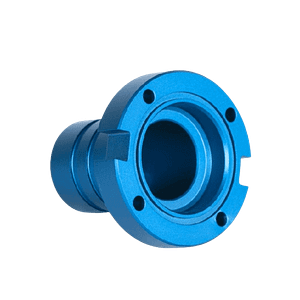
Define What the Prototype Must Prove
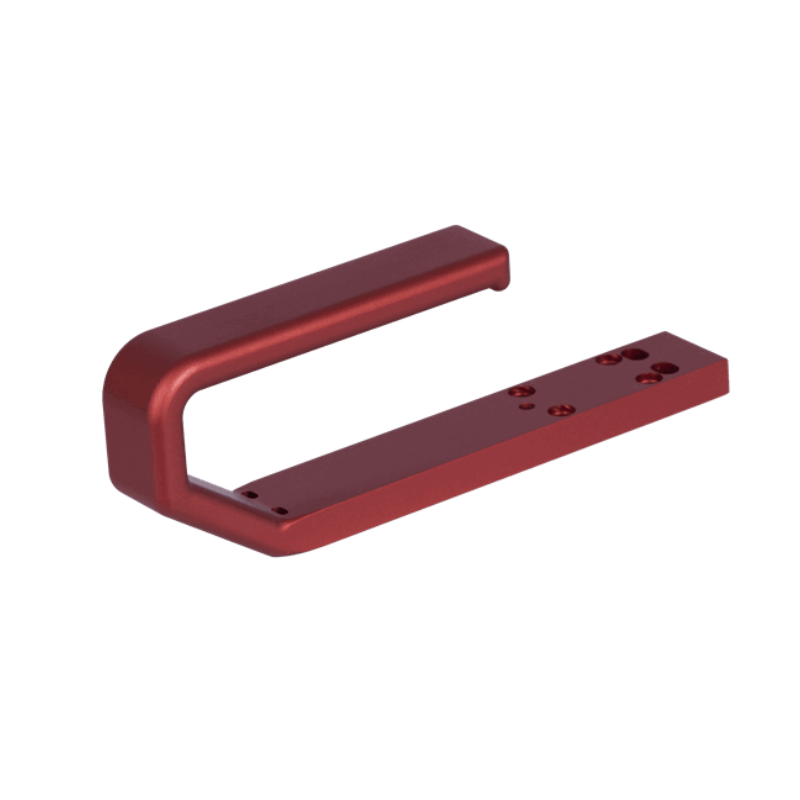
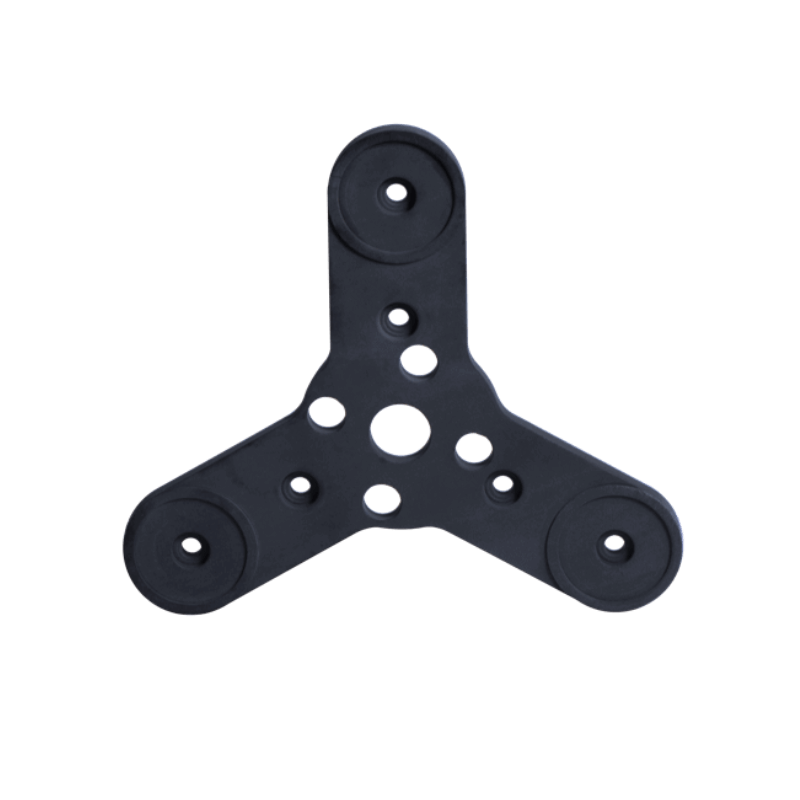
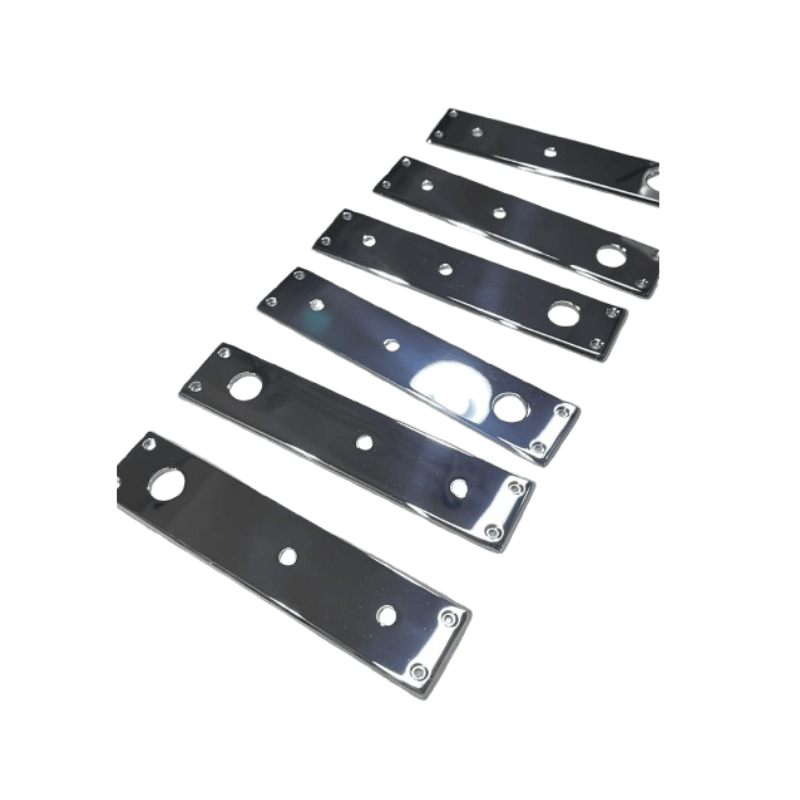
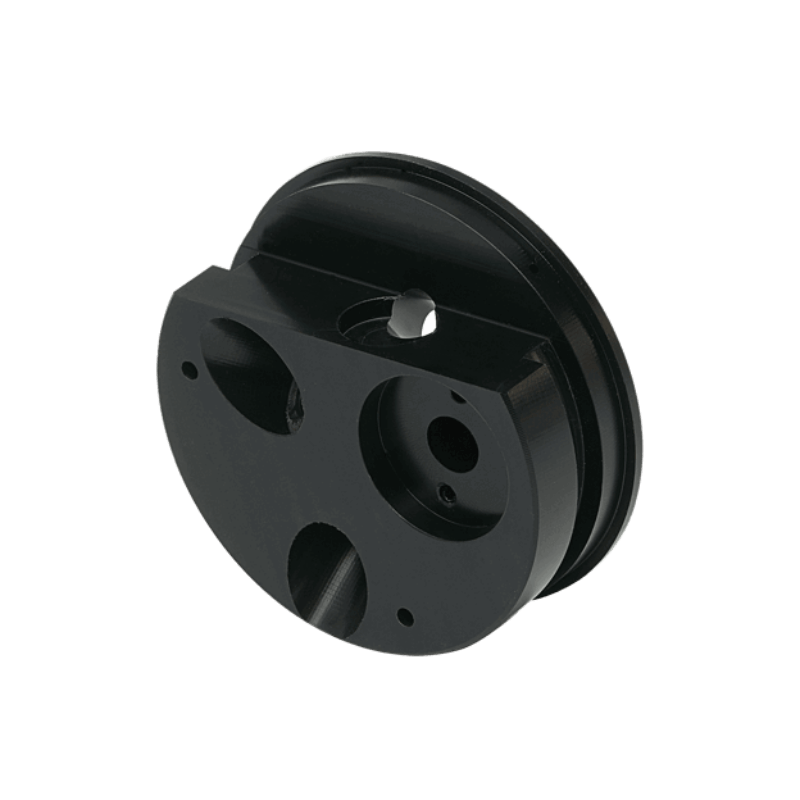
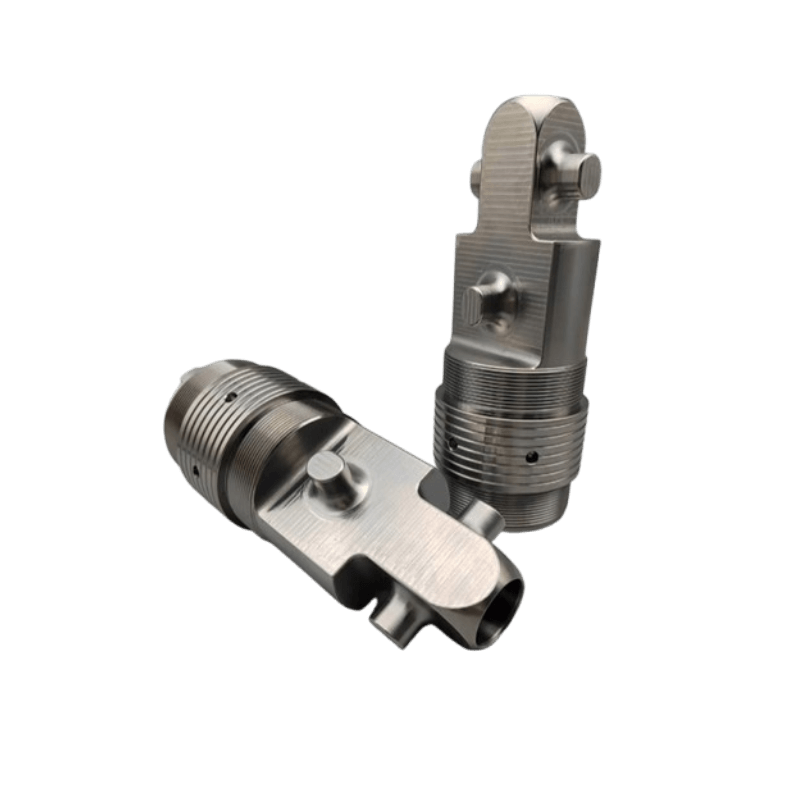
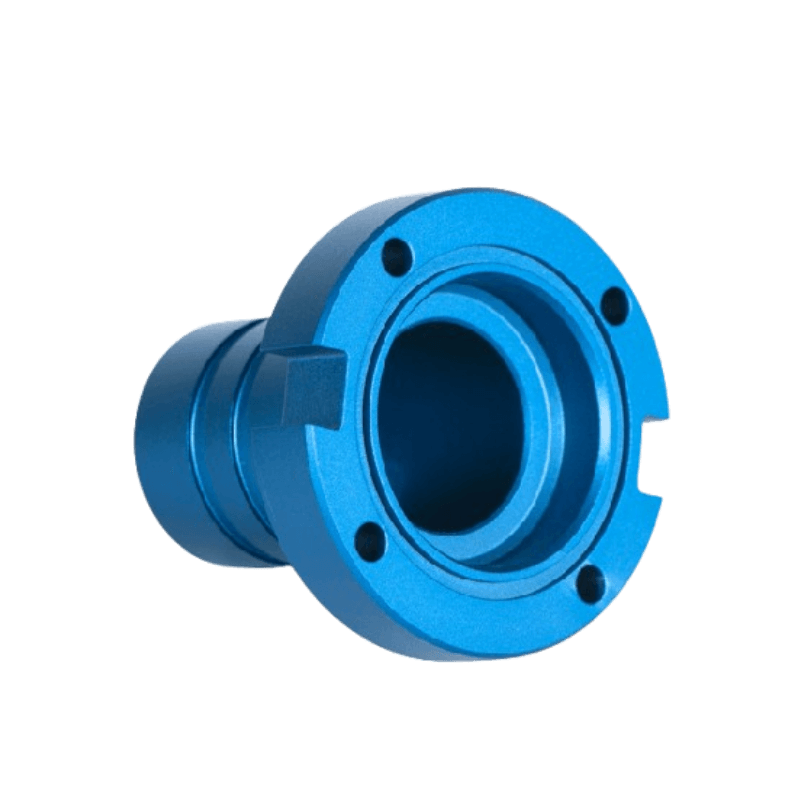
A prototype should answer a specific engineering question. Visual models are useful for shape, presentation, and early user feedback. Functional prototypes need material behavior, threads, sealing surfaces, heat resistance, stiffness, or assembly fit that is close to the intended product. Bridge parts may need the same material and inspection logic planned for low-volume production.
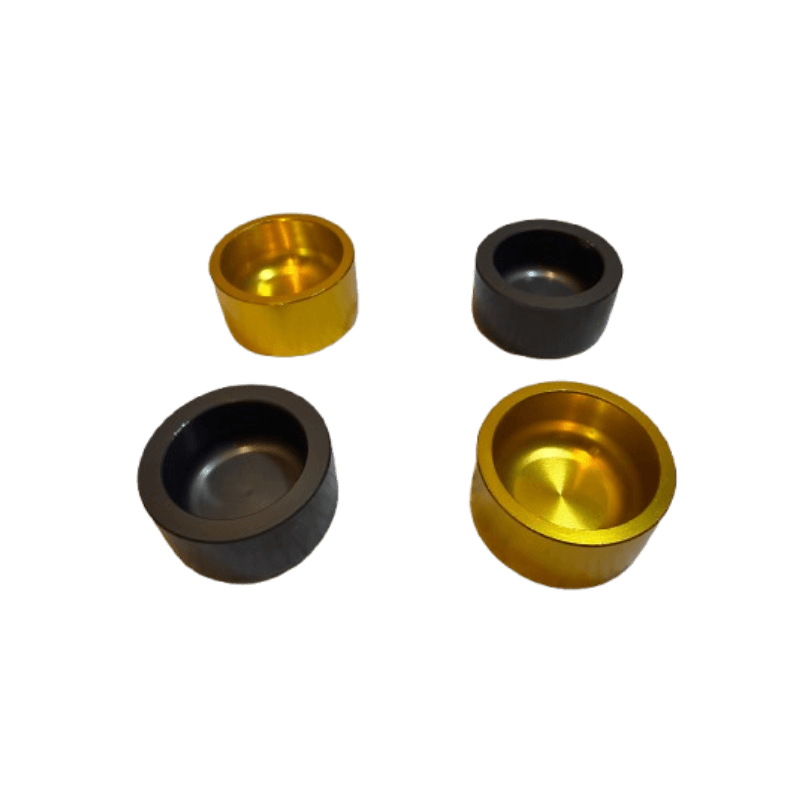
The process should be selected from the test objective, not only from the fastest advertised lead time. CNC prototype machining is often appropriate for production-grade metals and engineering plastics. SLA can support detailed visual models. SLS is useful for complex nylon parts. Vacuum casting can reproduce a master model for a small batch where molded appearance is more important than exact production-material behavior. Rapid tooling may be considered when real injection-molded material is required.
Prototype DFM Checklist
- Identify the surfaces and dimensions that affect assembly or testing.
- Separate critical tolerances from dimensions that can use a general tolerance.
- Confirm threads, inserts, sealing grooves, undercuts, and inaccessible features.
- State whether the finish is cosmetic, functional, or only required for presentation.
- Provide mating-part information when fit is the main test objective.
- Define the number of prototypes and the likely next production quantity.
These inputs help determine whether the prototype should be machined in one setup, split into components, printed, cast, or simplified for the first test cycle.
Tolerances, Lead Time, and Inspection
Published tolerances and lead times are starting references, not automatic commitments. Actual capability depends on part size, geometry, material, wall thickness, datum strategy, finishing, quantity, and inspection requirements. Delivery timing is confirmed after the files and DFM risks have been reviewed.
For fit-critical prototypes, the quotation should identify the inspection method and the dimensions that will be reported. Material certificates, dimensional reports, finish samples, or functional checks can be requested where relevant and are confirmed before the order.
Moving From Prototype to Low Volume
Before repeating a successful prototype, record the approved material, revision, critical dimensions, finish standard, inspection method, and packaging. Fixture strategy and process controls may need to change when quantity increases. SP Precision coordinates the RFQ, DFM questions, quotations, and supplier follow-up so that prototype feedback is carried into the next production stage.
Send the 3D model, 2D drawing, quantity, test objective, material, finish, and required delivery location for a project-specific review.